Every lost second or unnecessary click on a landing page increases the chances that your potential client will leave. To maximize your conversion rate, your top priority must be to eliminate friction and roadblocks in the user experience (UX).
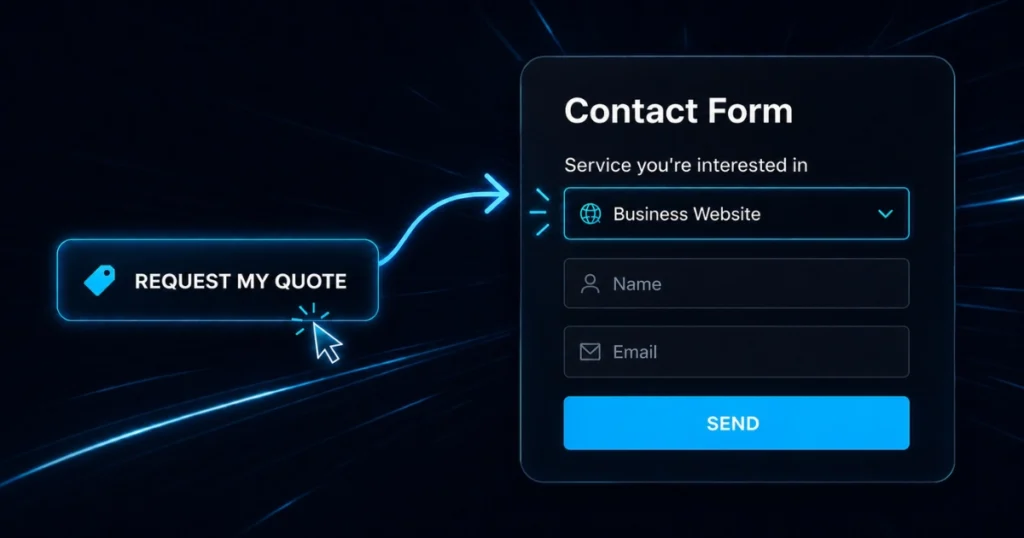
Let’s look at a classic scenario: you offer 3 distinct packages on your page, each with its own call-to-action button. Further down, there is a single Elementor form featuring a dropdown menu to select the “project type.”
Asking users to click on a package, and then manually select that same option from the dropdown menu, is a redundant step.
The Solution: Automate the Selection with JavaScript
Using a lightweight piece of JavaScript code, you can link your buttons directly to the form. As soon as a visitor clicks the button for Package A, the “Package A” option is automatically selected in the Elementor form’s dropdown menu.
The Result? You save your prospect precious time, provide a seamless experience, and, as a result, see a direct increase in the number of completed forms.
4-Step Process:
1. Integrate the JavaScript Code
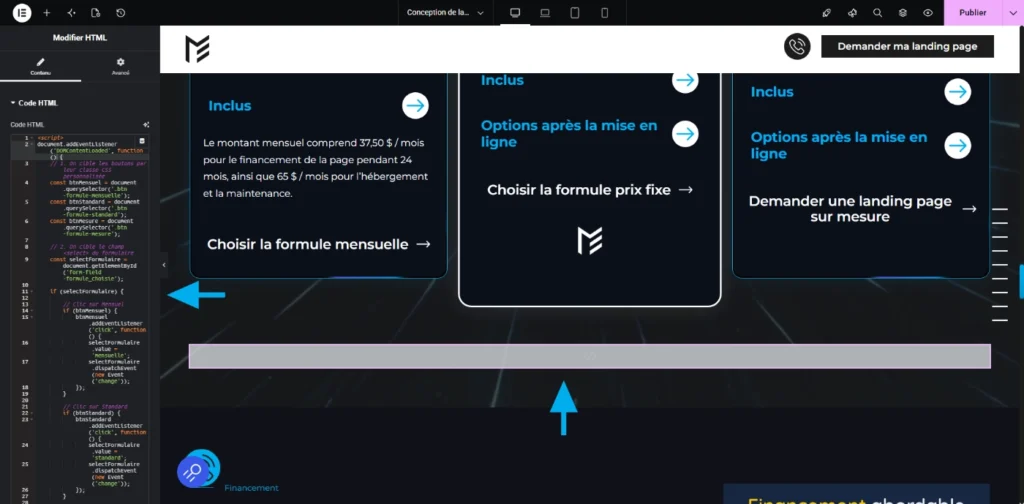
Add the JavaScript code to your offers page using an HTML widget or Elementor’s Custom Code feature.
<script>
document.addEventListener(‘DOMContentLoaded’, function() {
// 1. On cible les boutons par leur classe CSS personnalisée
const btnMensuel = document.querySelector(‘.btn-formule-mensuelle’);
const btnStandard = document.querySelector(‘.btn-formule-standard’);
const btnMesure = document.querySelector(‘.btn-formule-mesure’);
// 2. On cible le champ <select> du formulaire
const selectFormulaire = document.getElementById(‘form-field-formule_choisie’);
if (selectFormulaire) {
// Clic sur Mensuel
if (btnMensuel) {
btnMensuel.addEventListener(‘click’, function() {
selectFormulaire.value = ‘mensuelle’;
selectFormulaire.dispatchEvent(new Event(‘change’));
});
}
// Clic sur Standard
if (btnStandard) {
btnStandard.addEventListener(‘click’, function() {
selectFormulaire.value = ‘standard’;
selectFormulaire.dispatchEvent(new Event(‘change’));
});
}
// Clic sur Sur Mesure
if (btnMesure) {
btnMesure.addEventListener(‘click’, function() {
selectFormulaire.value = ‘mesure’;
selectFormulaire.dispatchEvent(new Event(‘change’));
});
}
}
});
</script>
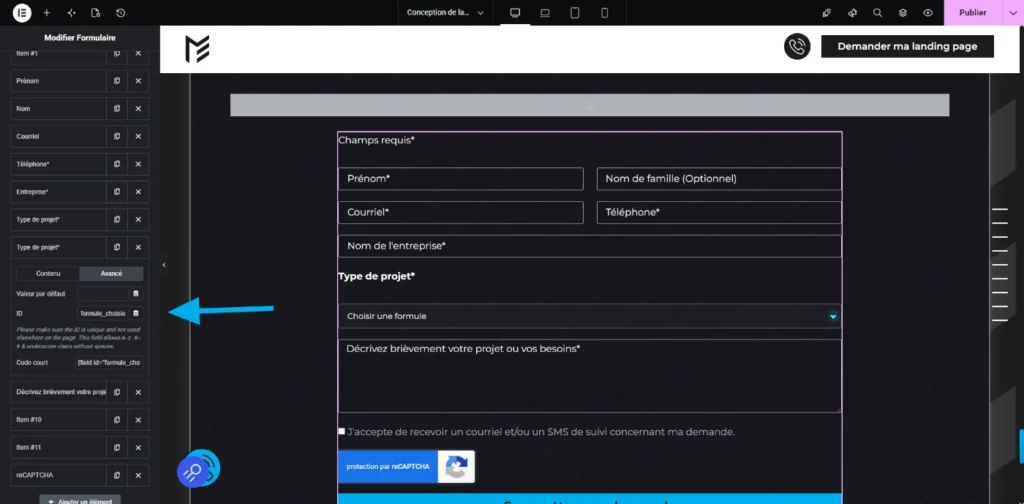
2. Configure the Form ID
Insert the ID formule_choisie (or the ID of your choice) into the advanced options of your Elementor form’s <select> field.
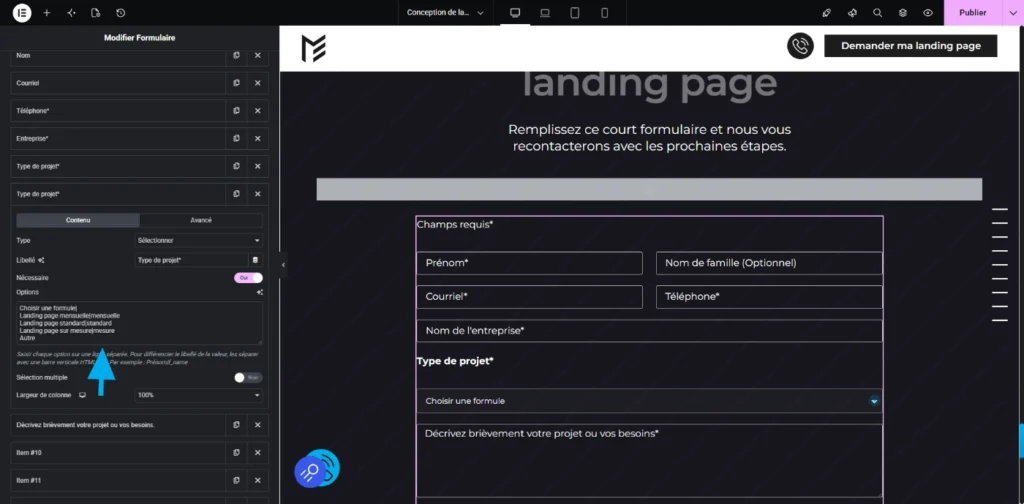
3. Map the Script Values to the Dropdown Options
In your dropdown menu options, configure your choices by entering the exact JavaScript code values to the right of the vertical bar.
Enter each option on a separate line. To separate the label from the value, use a vertical pipe (« | »). For example: Monthly landing page|mensuelle.
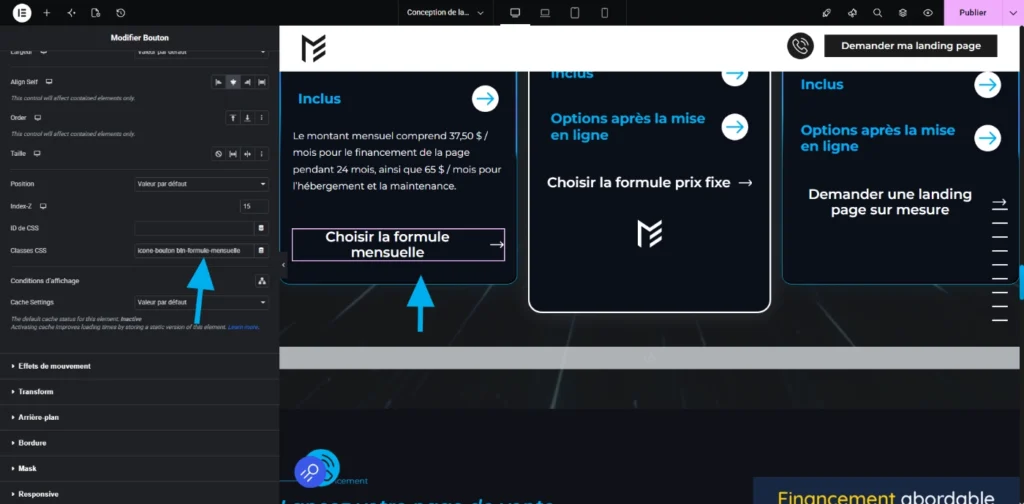
4. Add the CSS Classes to Your Buttons
Select the Elementor buttons associated with your offers and add the corresponding CSS class defined in the script (e.g., btn-formule-mensuelle).
Ready to Skyrocket Your Conversions?
And there you have it! You have just optimized the customer experience and boosted the conversion potential of your landing page.
If these technical tweaks are over your head or seem a bit too complex, don’t take any risks.
Contact us today to get the turnkey script and hand this optimization over to an expert! 🙂